Transferring beer from the fermenter to the brite tank is one of the most critical steps in the brewing process. Get it right, and you'll preserve aroma, carbonation, and shelf life. Get it wrong, and you'll introduce oxygen, lose CO₂, and ruin an otherwise perfect batch.
In this guide, we'll walk you through the two main fermenter to brite tank transfer methods, the equipment you need, and the key control points that separate professional results from amateur mistakes.
Why the Fermenter-to-Brite-Tank Transfer Matters
The transfer from fermenter to brite tank (also called a conditioning tank) is where your beer is finished, carbonated, and prepared for packaging. Two things can go wrong fast:
- Oxygen pickup — the #1 enemy of beer freshness. Even tiny amounts of O₂ can cause stale flavors, haze, and shortened shelf life.
- CO₂ loss — if pressure drops too quickly during transfer, dissolved CO₂ escapes and you get foam, flat beer, and inconsistent carbonation.
The core principles for avoiding both are simple: prevent oxygen ingress and avoid CO₂ breakout. Every method below is built around these two rules.
Before You Start: Prepare the Brite Tank
Regardless of which beer transfer method you use, the brite tank must be ready first. A properly prepared brite tank is the foundation of a clean transfer:
- Sanitize the brite tank and drain the sanitizer completely.
- Purge with CO₂ — fill the tank with CO₂ from the bottom and vent it, repeating the process until oxygen is fully expelled.
- Establish back pressure — pressurize the brite tank with CO₂ before transfer begins (typically just a few psi).
Skipping or rushing the purge step is the most common cause of oxygen pickup in finished beer.
Method 1: Isobaric Pump Transfer (Recommended)
This is the standard method in commercial brewing — efficient, controllable, and suitable for larger volumes or when filtration is required. It relies on a reliable transfer pump and a balance line between the two tanks.
Step-by-step
- Connect the balance line. Use a hose to link the headspace (gas space) of the fermenter to the headspace of the brite tank. This equalizes pressure between the two tanks, prevents foaming, and allows displaced CO₂ to be recovered.
- Connect the beer line. Run a hose from the fermenter outlet, through the pump (ideally a VFD pump), to the brite tank inlet. Purge air from the line — usually by pushing sanitizer out with beer until the line is full of beer.
- Start the pump slowly. With the balance line equalizing pressure, the pump only needs to overcome line resistance. Keep the flow gentle.
- Finish carefully. As the fermenter level drops near the cone, reduce pump speed to avoid creating a vortex that draws in air or yeast slurry.
Why it works
The balance line is the secret. Because both tanks share the same gas pressure, there's no pressure drop across the transfer — which means minimal foaming and minimal CO₂ loss.
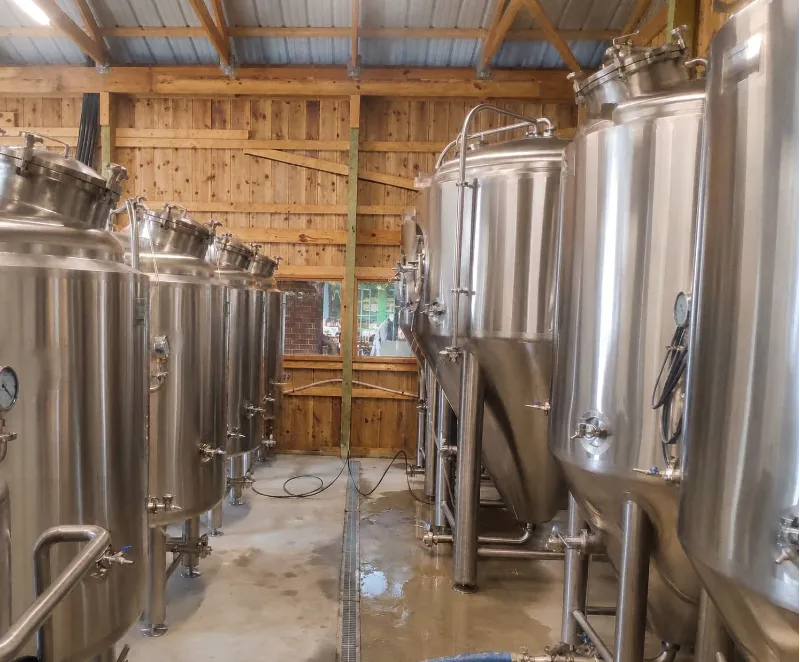
Method 2: CO₂ Pressure Transfer (Alternative)
Gentler but slower, and it consumes CO₂. Best for small batches or setups without a suitable pump — for example, when using a small batch fermenter.
Step-by-step
- Establish a pressure differential. Keep the purged brite tank at a lower pressure (e.g., 5–7 psi) and the fermenter at a slightly higher pressure (e.g., 10–12 psi).
- Connect the beer line between the bottoms of both tanks. Slowly open the valves and let the pressure differential push beer into the brite tank.
- Maintain the differential. Slowly vent gas from the top of the brite tank (or via a balance line) to keep flow moving. You may need to add gas to the fermenter to hold its pressure.
Key Control Points for a Clean Transfer
- Oxygen control is everything. Purge the brite tank thoroughly, purge your lines, and consider a DO meter on the transfer line to catch problems in real time.
- Keep it cold and smooth. Cold beer holds CO₂ better. Avoid sharp pressure drops and turbulent flow — both cause foaming.
- Use a VFD pump if you can. Variable frequency control lets you slow down at the start and finish, reducing shear and oxygen pickup.
- Dump yeast first. Before or at the start of transfer, drain the yeast from the fermenter cone so it doesn't end up in your brite tank.
FAQ
Can I transfer beer to a brite tank without a pump?
Yes — CO₂ pressure transfer works without a pump, as long as you can maintain a pressure differential between the two tanks.
Why is my beer foaming during transfer?
Foaming usually comes from a pressure drop, warm beer, or turbulent flow. Check your balance line, keep the beer cold, and slow the transfer rate.
Do I always need to purge the brite tank with CO₂?
Yes. Any oxygen left in the tank will be absorbed by the beer. Purging is non-negotiable for quality.
What pressure should the brite tank be at before transfer?
Just a few psi of back pressure for pump transfer; for pressure transfer, a differential of roughly 3–5 psi between the tanks works well.
A clean fermenter to brite tank transfer comes down to preparation and control: purge thoroughly, equalize pressure, transfer slowly, and keep oxygen out. Master these fundamentals and your beer will arrive in the brite tank brighter, fresher, and properly carbonated.